Publicly responding to reviews helps build brand trust, resolve customer issues, and engage loyal consumers. In Ratings & Reviews, you can write custom responses or insert saved response templates to handle common inquiries faster.
Respond with a custom response
Content Responder Content Administrator
To respond to a review:
- Sign in to the Bazaarvoice Portal
 .
. - From the navigation bar, select Ratings & Reviews.
- Use filters or the search bar to find the review you want to respond to.
- Enter your response in the Leave a response text field, or use a saved response.
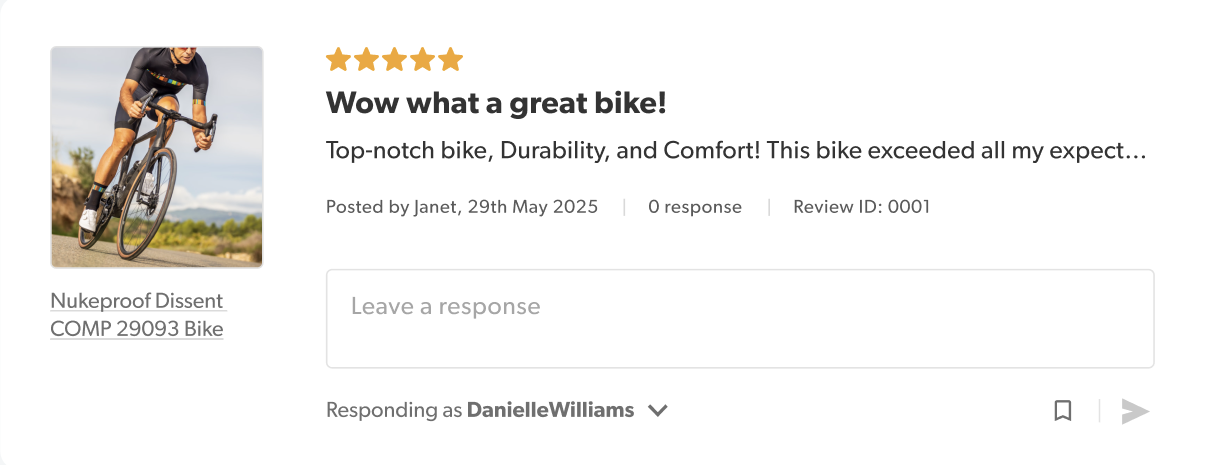
- (Optional) If you need to respond under a different department or public display name, select an option from the Responding as drop-down list. This drop-down list only appears if multiple display names are set up for your team. If this is your first time responding, you're prompted to add responder details. For example, Customer Service.
- Select Submit.
Manage your responses
After publishing a review response, you can edit or delete it, or configure your responder details such as your public department name.
Edit a response
Content Responder Content Administrator

To edit an existing response:
- Use filters to find the review that contains the response you want to edit.
- Select Review details to open the review.
- Select Edit beside the response you want to update.
- Make your changes, then select Update.
Delete a response
Content Responder Content Administrator
To delete a published response:
- Use filters to find the review that contains the response you want to delete.
- Select Review details to open the Detail view.
- Select Delete beside the response you want to remove.
- Confirm that you want to delete the response. Deleting a response is permanent, and you can't undo this action.
Add responder details
Content Responder Content Administrator
When you respond to a review for the first time, you must add a department name. This can be a generic department name, such as Customer Support.

To add responder details:
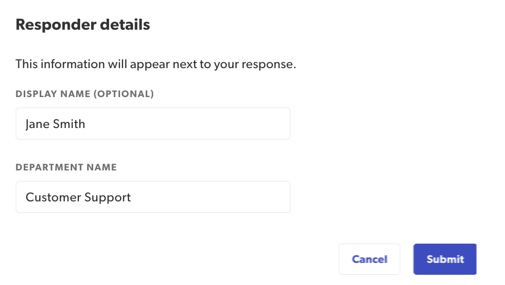
- If this is your first time responding to a review, the Responder details modal appears automatically.
- (Optional) Enter a public display name. It appears next to your response. For example, Jane Smith.
- Enter a descriptive department name (mandatory). For example, Customer Support.
- Select Submit.
Delete responder details
Content Responder Content Administrator
Deleting responder details removes a name and associated department as a saved option for future use. It does not remove responses already posted live.
- Select Review details to open the Detail view.
- Go to the Responses section, and then select the Responding as drop-down list.
- Hover over the responder details you want to remove.
- Select the Delete icon (trash can). This permanently removes those responder details from future use.
Respond using a saved response template
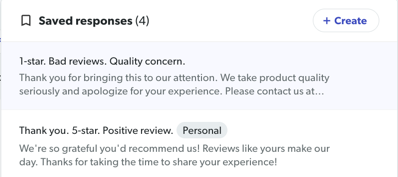
Use saved responses to insert pre-written replies into the Leave a response text field.
- Saved responses save time and help ensure consistent brand messaging across your team.
- You can edit an inserted response before you submit it.
- Saved responses are available in both List view and Detail view.
Create a saved response template
Content Responder Content Administrator
To create a saved response:
- Select the Leave a response text field under any review.
- Select the Saved responses bookmark icon in the bottom-right corner of the text field. The Saved responses list appears.
- Select + Create. The Create saved response modal appears.
- In the Name field, enter a unique template title of up to 50 characters.
- In the Response field, enter your template response text.
- Under Visibility, select:
- Personal: Visible and usable only by you.
- Shared (default): Available to all users across your organization.
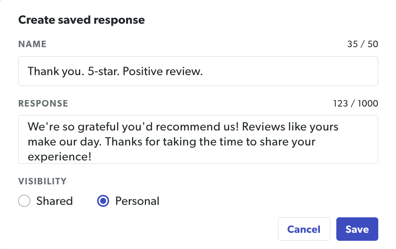
- Select Save.
Use a saved response template
Content Responder Content Administrator
To insert a saved response into a review response:
- Sign in to the Bazaarvoice Portal.
- From the navigation bar, select Ratings & Reviews.
- Use filters or the search bar to find the review you want to respond to.
- Select the Leave a response text field below the review.
- Select the Saved responses (bookmark) icon in the lower-right corner of the response text field. The Saved responses list appears.
- Choose the saved response you want to insert.
- Personalize the template response as needed.
- Select Submit.
Tips for using saved response templates
- Understand list sorting: New saved response templates stay at the top during your active session. Refreshing the page reorganizes your list with Favorites first, followed by Most recent.
- Identify personal templates: Look for the Personal badge to easily spot templates that are strictly visible and usable by you.
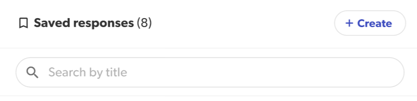
- Locate templates fast: A search bar automatically appears at the top of your list once you have 8 or more saved responses.
Manage your saved response templates
Keep your response library organized and up to date by editing, favoriting, or deleting your saved responses.
Favorite a saved response
Favorite your most-used responses to pin them to the top of the Saved responses list:
- Select the Saved responses bookmark icon below the Leave a response text field.
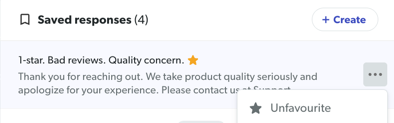
- In the Saved responses list, hover over the saved response you want to favorite, and then select the ellipses (...) icon.
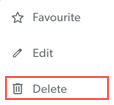
- Select Favorite. A star appears next to the response name, and the response moves to the top of your list.
Edit a saved response
To edit a saved response:
- Select the Saved responses bookmark icon below the Leave a response text field.
- Hover over the saved response you want to edit, and then select the ellipses (...) icon.
- Select Edit. The Edit saved response modal appears.
- Personalize the inserted response before submitting.
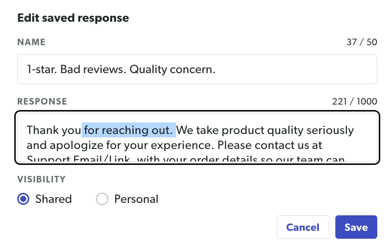
- Update the Name, Response, or Visibility setting.
- Select Save.
Delete a saved response
Deleting a saved response doesn't affect any review responses you already published using it.

To delete a saved response:
- Select the Saved responses bookmark icon below the Leave a response text field.
- Hover over the saved response you want to delete, and then select the ellipses (...) icon.
- Select Delete.