Bazaarvoice Vibe’s social media scheduler is a unified scheduler where you can create and schedule posts to every social media platform supported by Vibe. If you're looking for information about the social media calendar, read our Calendar topic to learn more about it.
Before you begin
Before you start using the scheduler, make sure you've connected all of your relevant social media accounts. If you haven't yet or need to reconnect, read our social media accounts connection topic.
Open the scheduler
In Vibe, select Publishing > Schedule. Next, select the Schedule button in the upper-right corner of the page.
Create a post
Create a new post by selecting Schedule in the upper-right corner of the Calendar or by selecting the + icon on the day you want to post.
Under Social Platforms, select the checkbox next to each social media platform that you want to post to.
Media
Follow these steps to add media to your post:
- Select Add Media under the Media heading.
- Select each media item that you want to add to your post. To learn more about post requirements for each social platform, read the “Platform requirements” section of this topic.
- Select Add Media.

View the table below to see what kind of media can be posted on each platform.
|
Post type
|
Media | Media required? |
|---|---|---|
| Instagram Feed | Up to 10 images and videos per post. | Yes |
| Instagram Reels | 1 video per post. | Yes |
| Instagram Story | Up to 10 images and videos per post. | Yes |
| Multiple images or 1 gif/video per post. | No | |
| TikTok | 1 video or up to 35 images per post. | Yes |
| Up to 5 images or 1 gif/video per post. | Yes | |
| X (Twitter) | Up to 4 images or 1 gif/video per post. | No |
| YouTube | 1 video per post. | Yes |
Copy caption and post time to all platforms
You can apply a caption and post time to all of the platforms you've selected when creating a post.
Follow these steps to apply your caption or post time to all platforms:
- Enter your caption or post time under the Caption or Post Time headings.
- Select Copy to Selected Platforms under either field.
This will apply your caption or post time to all the platforms you've selected. If you add another platform, you must select Copy to Selected Platforms again for it to apply to that platform.
AI tools for captions and hashtags
Vibe includes AI-powered tools to help you craft the perfect caption and find relevant hashtags, all from within the Caption box.
AI-recommended captions
Select the magic wand icon (✨) in the caption editor to open the AI assistant menu. You can use this tool in two ways:
Generate a new caption: If the caption box is empty, select Generate new caption and the AI will create one for you.
Refine an existing caption: If you’ve already written a caption, you can select one of the following options to edit it:
Generate new caption: Replaces your current text with a new AI-generated caption.
Fix spelling and grammar: Corrects any spelling or grammatical errors.
Make shorter: Condenses your caption.
Make longer: Expands on your caption.
Simplify language: Rewrites the caption to be easier to read.
Change tone to...: Adjusts the style of your caption.
Optimize for [Platform]: Tailors the caption specifically for best practices on the selected platform.
AI-recommended hashtags
Select the hashtag icon (#) in the caption editor to open the hashtag finder. This tool uses AI to recommend relevant hashtags based on the platform you are posting to.
You can create three different post types for Instagram: Feed, Reels, and Stories. You can only choose one type per post. Each type has different customization options.
View the table below to see which post details apply to the three different post types.
|
Post detail
|
Description |
Posting method |
Feed | Reels | Story |
|---|---|---|---|---|---|
| Posting method | You can choose to manually post to Instagram or have Vibe post it automatically on your behalf. | N/A | Yes | Yes | Yes |
| Post time |
The date and time you want to post to Instagram. | Automatic and manual | Yes | Yes | Yes |
| Mobile notification |
Select who will receive the notification from the Bazaarvoice app when it's time to manually post or when Vibe posts on your behalf. | Automatic and manual | Yes | Yes | Yes |
| Caption |
The caption that will appear under your post. | Automatic and manual | Yes | Yes | No |
| First comment | The first comment that will appear under your post. | Automatic | Yes | Yes | No |
| Tagged accounts |
The accounts or people tagged on your post. | Automatic for Feed, manual for Reels | Yes | Yes | No |
| Notes |
Notes to yourself about things to add to your post when manually posting. | Manual | No | Yes | Yes |
| Link | A link that users can select. | Manual | No | No | Yes |
| Meta Shop Tags | Products from your Meta product catalog that will appear on your post's media. When selected, the user will go to the product's page on your Instagram or Facebook shop. | Automatic | Yes | No | No |
| Location | The location listed on your Instagram post. | Automatic for Feed, manual for Reels | Yes | Yes | No |
| Collaborators | Invite users to co-author your post as collaborators. Once they accept your invite, the post will be shown to their followers. | Automatic | Yes | Yes | No |
Collaborators
Instagram collaborator posts allow users to co-author posts with other accounts. In Vibe, you can now add up to three collaborators when scheduling an Instagram reel, photo, or carousel. You cannot add collaborators for Instagram stories.
Manual vs automatic posting on Instagram
When scheduling a post to Instagram, you have the choice to select the Automatically post to Instagram checkbox. If you decide not to check this box, and to therefore post manually instead, follow the steps below:
1. At the time of your scheduled post, the mobile device you selected will notify you that a new post, reel, or story is available for posting.
2. Select the notification to launch the mobile app and go to the Scheduled Posts screen.
3. To publish the post, select the Post Now button.
4. A prompt will appear asking Are you sure you want to post to Instagram now?. It will also indicate that your caption will be copied to your clipboard.
5. This will open your Instagram app. Follow the steps to post and make sure to paste your caption exactly as it was copied.
6. If you're signed into multiple accounts, make sure to select the correct account to post to.
7. Select Share in the Instagram app when you're ready to post to your Instagram account.
The table below shows the features that are available for Automatic and Manual posting:
| Feature | Automatic | Manual |
|---|---|---|
| First comment | Yes | No |
| Tagged accounts | Yes | No |
| Meta shop tags | Yes | No |
| Post Location | Yes | No |
| Reel Location | Yes | Yes |
| Story Clip Settings | No | Yes |
| Reel Cover Images | Yes | No |
Reel cover images
To choose a cover image for your Instagram reel, complete the following steps:
You must select the Automatically post to Instagram checkbox. This means the reel will be posted on your behalf.
Select the Edit Cover Image button below the reel preview image.
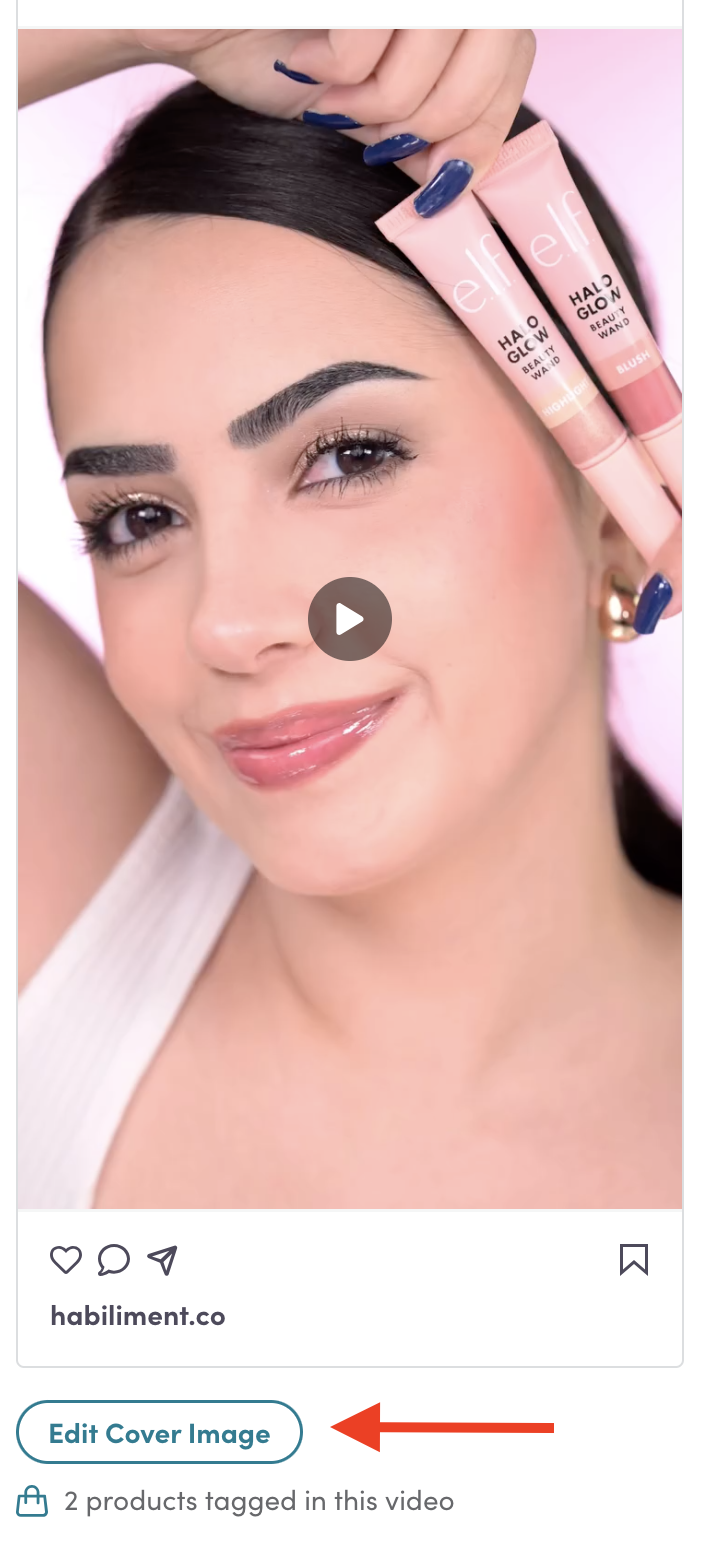
You will then have two options:
To choose a frame from your reel as the cover photo, drag the circular button to your desired timestamp.
To choose a custom image for the reel cover photo, select the Upload Cover Image button. Choose your image and then select the Confirm button.
TikTok
You can schedule video or photo posts to TikTok, but you can’t mix videos and photos in the same post.
For TikTok posts, you can change the following post details:
- Caption: The caption that will appear under your post.
- Post settings:
- Disable comments: Available for both video and photo posts.
- Duets: Only available for video posts.
- Stitches: Only available for video posts.
- This Post is AI Generated (Video posts only): For authenticity and transparency, this label should be added to videos and/or audio that is generated or modified by AI, in full or in part.
- Music: You can add music from TikTok’s Commercial Music Library to your video or photo posts.
- Select Add Music to browse available tracks.
- You can preview tracks before selecting one to hear how they sound.
- Once you’ve selected a track, you can:
- Trim audio: Set a start and end time to use a specific section of the track.
- Adjust volume: Control the volume of the music track and the original audio in your video independently.
- Preview: Play your video or photo post with the selected track to check the timing and volume balance before scheduling.
- For photo posts, you also have the option to select auto-add music to have TikTok automatically apply a trending sound when the post is published.
- Post time: The date and time you want to post to TikTok.
For Facebook posts, you can change the following post details:
- Caption: The caption that will appear on your post.
- Post time: The date and time you want to post to Facebook.
For Pinterest pins, you can change the following post details:
- Title (optional): The title of your pin. This is an optional post detail.
- Description: The text that will appear on your pin.
- Destination link (optional): The link that users will go to when they select this pin. This is an optional post detail.
- Board: The Pinterest board that this pin will be a part of.
- Post time: The date and time you want to post to Pinterest.
- Custom image: You can choose a custom coverage image for Pinterest videos. To upload a custom image, select the Edit Cover Image button. Navigate to your chosen image and select the Confirm button.

X
For X posts, you can change the following post details:
- Text: The text that appears in your post.
- Post time: The date and time you want to post to X.
YouTube
For YouTube posts, you can change the following post details:
Title: The title that will be displayed with your post.
Description (optional): Information that is displayed below your video.
Post time: The date and time you want to post to YouTube.
Tags (optional): Descriptive keywords to help highlight your content in searches.
Category: Select a category to help viewers find your video more easily.
Playlist (optional): Add your video to an existing playlist or create a playlist.
Privacy:
Public: Public videos and playlists can be viewed by and shared with all YouTube users.
Unlisted: Unlisted videos and playlists can be viewed and shared by anyone with the link.
Private: Private videos can only be viewed by you and your chosen users.
| Feature | Private | Unlisted | Public |
|---|---|---|---|
| Can share URL | No | Yes | Yes |
| Can be added to a channel section | No | Yes | Yes |
| Can show in search, related videos, and recommendations | No | No | Yes |
| Posted on your channel | No | No | Yes |
| Shows in the subscriber feed | No | No | Yes |
| Can be commented on | No | Yes | Yes |
| Can show up in a public playlist | No | Yes | Yes |
Audience:
Made for kids: To comply with the US Children’s Online Privacy Protection Act (COPPA), you’re required to tell us whether your videos are made for children.
Age restriction: Age-restricted videos that may not be appropriate for children.
Allow embeds: Select whether you want to allow other users to embed your video on a different website.
Licensing: Select your license type from the drop-down menu.
Cover image: You can now choose a custom coverage image for long-form YouTube videos. To upload a custom image, select the Edit Cover Image button. Navigate to your chosen image and select the Confirm button.
Edit posts
You can edit posts in the Calendar itself by selecting a scheduled or draft post to view the Post Preview. From here, you can:
- View a preview of the post
- Change the scheduled or planned date and time
- Edit the caption or post text
- Duplicate the post
- Tag products
- Open and edit the full post
Learn more about the Social Media Calendar.
Troubleshooting
If you're running into errors, refer to the "Media" section of this topic to view the post and platform requirements. You may need to create separate posts depending on what media you want to include on each platform.