Select your IdP from the following list to read setup steps specific to it.
If you use a different IdP, follow the generic steps in the following sections.
Add an SSO app to your identity provider
-
Sign in to your corporate identity provider (IdP) account.
-
Give your SSO app a descriptive name, for example, Bazaarvoice SSO. When you're prompted to add SSO app details, add sample credentials for now.
Note: You will be required to add the permanent SAML values in Step 4 of the setup wizard. Bazaarvoice will provide these values during setup.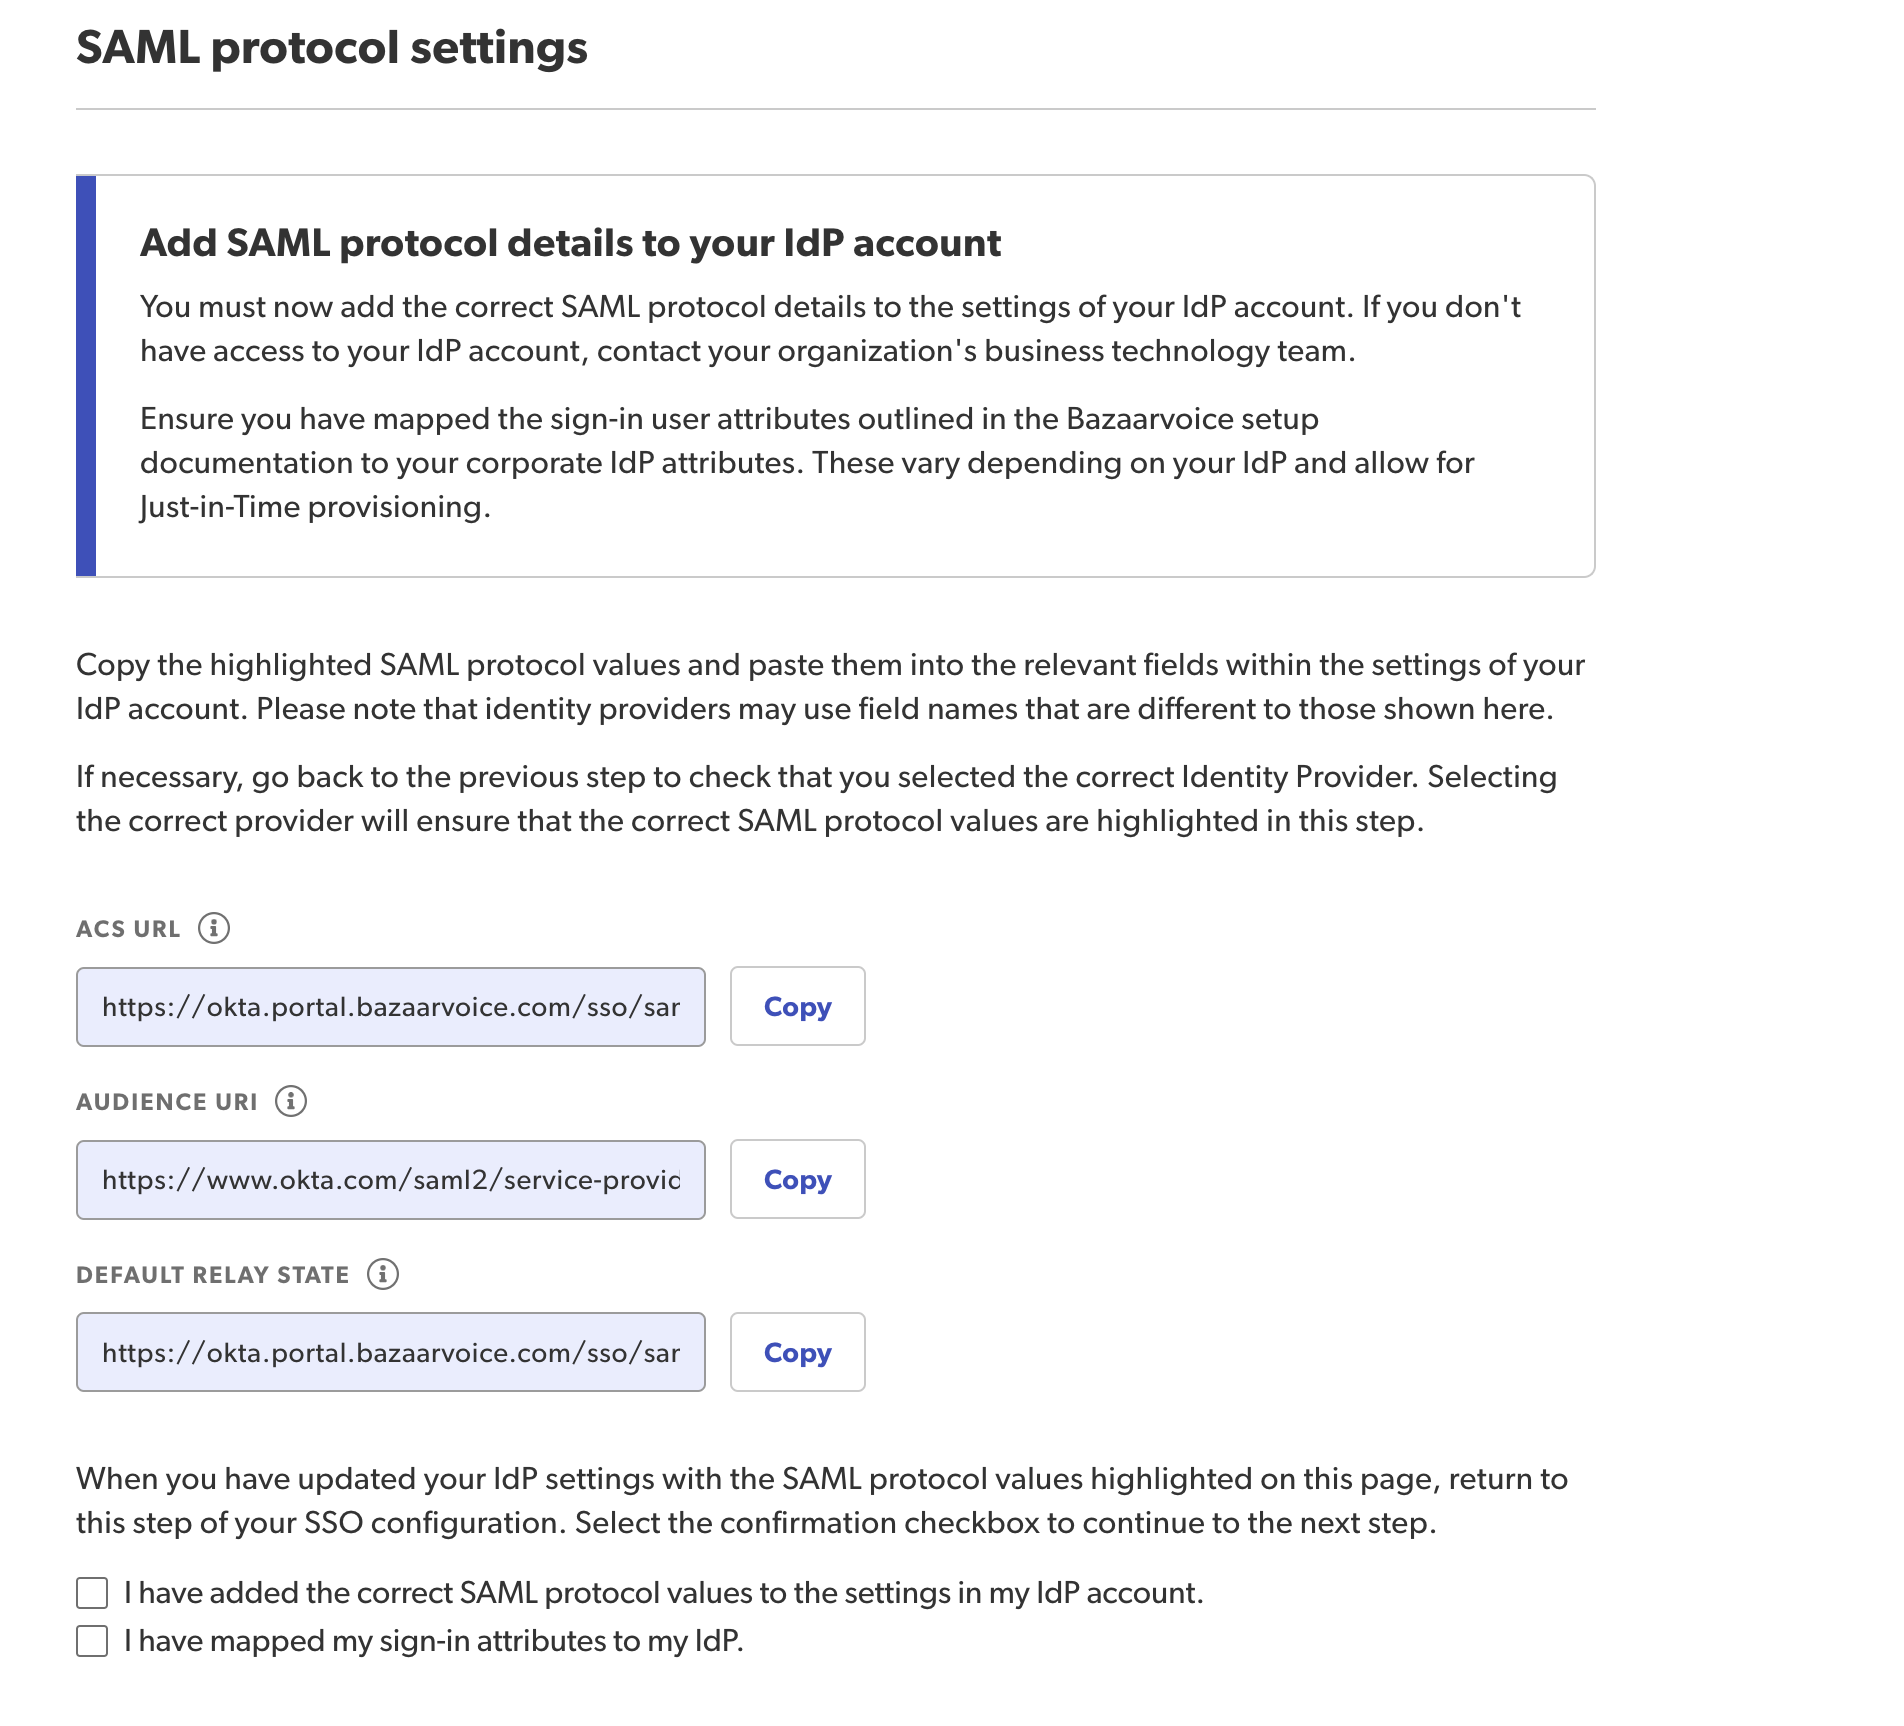
-
Map the sign-in user attributes provided by Bazaarvoice to your corporate IdP attributes. These attributes will vary depending on your IdP.


- In Step 3 of the wizard, you will be asked to enter values generated by your IdP. If you have been unable to set up the app, add sample details at this stage.
- Continue to Step 4 of the setup wizard and copy the generated details to your IdP, which should allow you to complete setup of your IdP app.
- Once you have successfully setup your IdP applciation, return to Step 3 and replace the sample details with the correct details generated by your IdP.
Group IdP access
If required, your IdP administrator can set up group access to your IdP. The administrator can then add all users who need access to the Bazaarvoice Portal to this user group. Members of this group can access the Bazaarvoice platform in their personal dock and will be able to sign in to Bazaarvoice solutions through SSO once it has been enabled.
Create a new SSO configuration
To get started:
-
Sign in to the Bazaarvoice Portal
 .
.
- From the upper-right corner, select the settings icon .
-
Select Manage Users.
Note: Only Account Administrators can access Users & Permissions. If you’re not assigned the Account Administrator role, sign in to Portal, go to your Profile page and select View Administrators to see who can assign you this role. - Select the Single sign-on tab.
- Select Create SSO Configuration in the upper-right corner. The five-step SSO setup wizard will guide you through the following tasks:
 .
.